VUE3 新启程
1.安装 vue3
直接安装
npm 方式
bashnpm install vue@next使用 yarn
bashyarn add vue@nextCLI 方式安装
对于 Vue 3,你应该使用 npm 上可用的 Vue CLI v4.5 作为 @vue/cli@next。要升级,你应该需要全局重新安装最新版本的 @vue/cli:
bashnpm install -g @vue/cli@next使用 yarn
bashyarn global add @vue/cli@next然后在 Vue 项目运行:
bashvue upgrade --next
Vite 方式使用
Vite 是一个 web 开发构建工具,由于其原生 ES 模块导入方法,它允许快速提供代码。 通过在终端中运行以下命令,可以使用 Vite 快速构建 Vue 项目。
md使用 npm: $ npm init vite-app <project-name> $ cd <project-name> $ npm install $ npm run dev 或者 yarn: $ yarn create vite-app <project-name> $ cd <project-name> $ yarn $ yarn dev
2.创建 Vue 实例
js
import { createApp } from 'vue'
const app =createApp({
  data() {
      return { count: 4 }
  }
})
app.config = {
  errorHandler, //指定一个处理函数,来处理组件渲染方法执行期间以及侦听器抛出的未捕获错误 (err, vm, info) => { 处理错误 `info` 是 Vue 特定的错误信息,比如错误所在的生命周期钩子}
  warnHandler,//为 Vue 的运行时警告指定一个自定义处理函数。注意这只会在开发环境下生效 (msg, vm, trace)=>{}
  globalProperties,//添加可以在应用程序内的任何组件实例中访问的全局 property。属性名冲突时,组件的 property 将具有优先权
  isCustomElement,//指定一个方法,用来识别在 Vue 之外定义的自定义元素
  optionMergeStrategies,//为自定义选项定义合并策略。
  performance//设置为  true  以在浏览器开发工具的 performance/timeline 面板中启用对组件初始化、编译、渲染和更新的性能追踪。只适用于开发模式和支持  performance.mark API 的浏览器。
} //config  是一个包含了 Vue 应用全局配置的对象。你可以在应用挂载前修改其以下 property:
// 全局 property 属性 代替 2.X 的 Vue.prototype.$http = () => {}
app.config.globalProperties.$http = () => {} -->this.$api
// 任何以“ion-”开头的元素都将被识别为自定义元素
app.config.isCustomElement = tag => tag.startsWith('ion-')

app.use(router) //安装 Vue.js 插件。如果插件是一个对象,它必须暴露一个install方法。如果它本身是一个函数,它将被视为安装方法。
.mount('#app')// 挂载实例
.unmount('#app') // 卸载应用实例- 注册组件 component
js
//参数:
// {string} name
// {Function | Object} [definition]
//返回值:
//如果传入 definition 参数,返回应用实例。
//如果不传入 definition 参数,返回组件定义。
//用法:
//注册或检索全局组件。注册还会使用给定的  name  参数自动设置组件的  name。
//示例:
import { createApp } from 'vue'

const app = createApp({})

// 注册一个名为 my-component 的组件
app.component('my-component', {
/_ ... _/
})

// 检索注册的组件(始终返回构造函数)
const MyComponent = app.component('my-component', {})- 指令 directive
js
import { createApp } from "vue";
const app = createApp({});

// 注册
app.directive("my-directive", {
  // 指令是具有一组生命周期的钩子:
  // 在绑定元素的父组件挂载之前调用
  beforeMount() {},
  // 绑定元素的父组件挂载时调用
  mounted() {},
  // 在包含组件的 VNode 更新之前调用
  beforeUpdate() {},
  // 在包含组件的 VNode 及其子组件的 VNode 更新之后调用
  updated() {},
  // 在绑定元素的父组件卸载之前调用
  beforeUnmount() {},
  // 卸载绑定元素的父组件时调用
  unmounted() {},
});

// 注册 (功能指令)
app.directive("my-directive", () => {
  // 这将被作为 `mounted` 和 `updated` 调用
});

// getter, 如果已注册,则返回指令定义
const myDirective = app.directive("my-directive");
ref 与 reactive
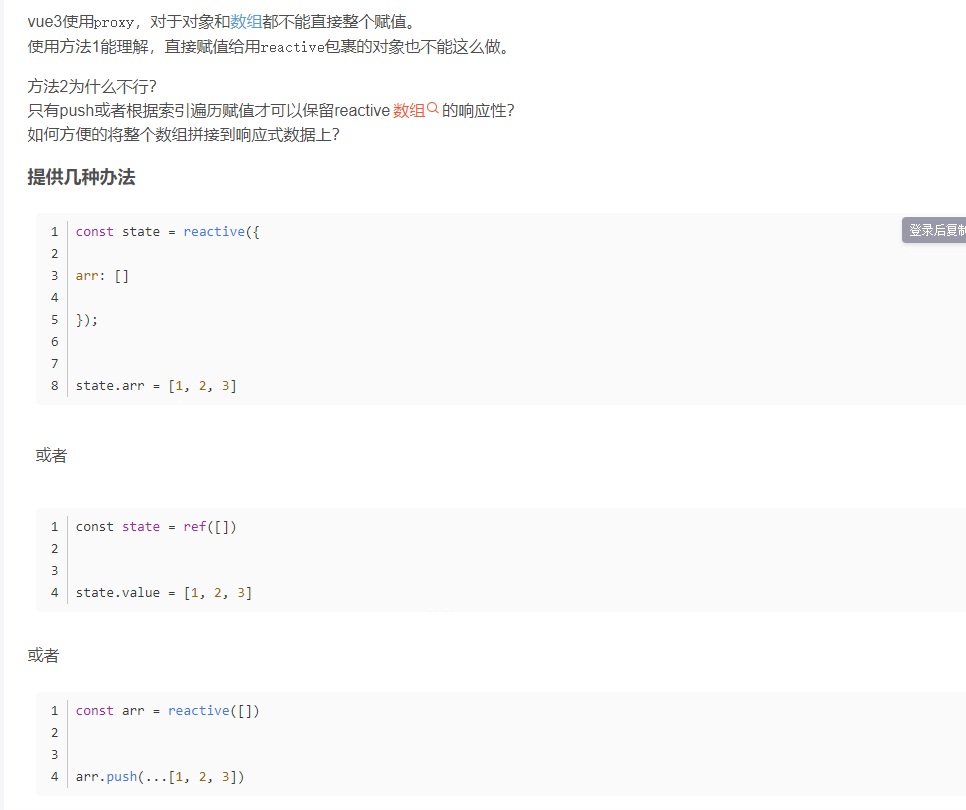
功能:用于双向绑定,监听数据变化,实现渲染 ref 只可以监听简单数据(只能监听一些如数字、字符串、布尔之类的简单数据),reactive 可以监听所有数据(简单数据需要包装一下) ref 修改数据需要使用这样 count.value=xxx 的形式,而 reactive 只需要 state.reactiveField=值这样来使用
第二点体现在 template 中引用时候为 reactiveField,不需要 state,也就是说我 reactive 对象里面字段是应该直接使用的
体现在 reactive 在 return 时候需要 toRefs 来转换成响应式对象
vue<template> ref:<span>{{name}}<span> reactive:<span>{{person}}<span> </template> <script> import {ref,reactive} from 'vue' setup(){ const name=ref('hello') const person=reactive() } </script>
- 语法糖
vue<template> {{ count }} <button @click="clickHandle">click</button> <other-component /> </template> <script lang="ts"> import {ref} from 'vue' import OhterComponent from './otherComponent' export default { components:{OhterComponent} setup(){ const count=ref(0) const clickHandle=()=>{} return {count,clickHandle} } } </script>使用如下 setup 语法糖 同上效果
vue<template> {{ count }} <button @click="clickHandle">click</button> <other-component /> </template> <script setup lang="ts"> import { ref } from "vue"; import OhterComponent from "./otherComponent"; const count = ref(0); const clickHandle = () => {}; </script>